

Why Does Your Bra Band Keep Riding Up? Causes & Exact Fixes Explained
Your bra band rides up because it is too loose, too stretched, or being pulled upward by cups that are too small or straps that are over-tightened. The band should sit level and horizontal across your back. Fixes include tightening to a firmer hook, dropping a band size, or replacing worn elastic.
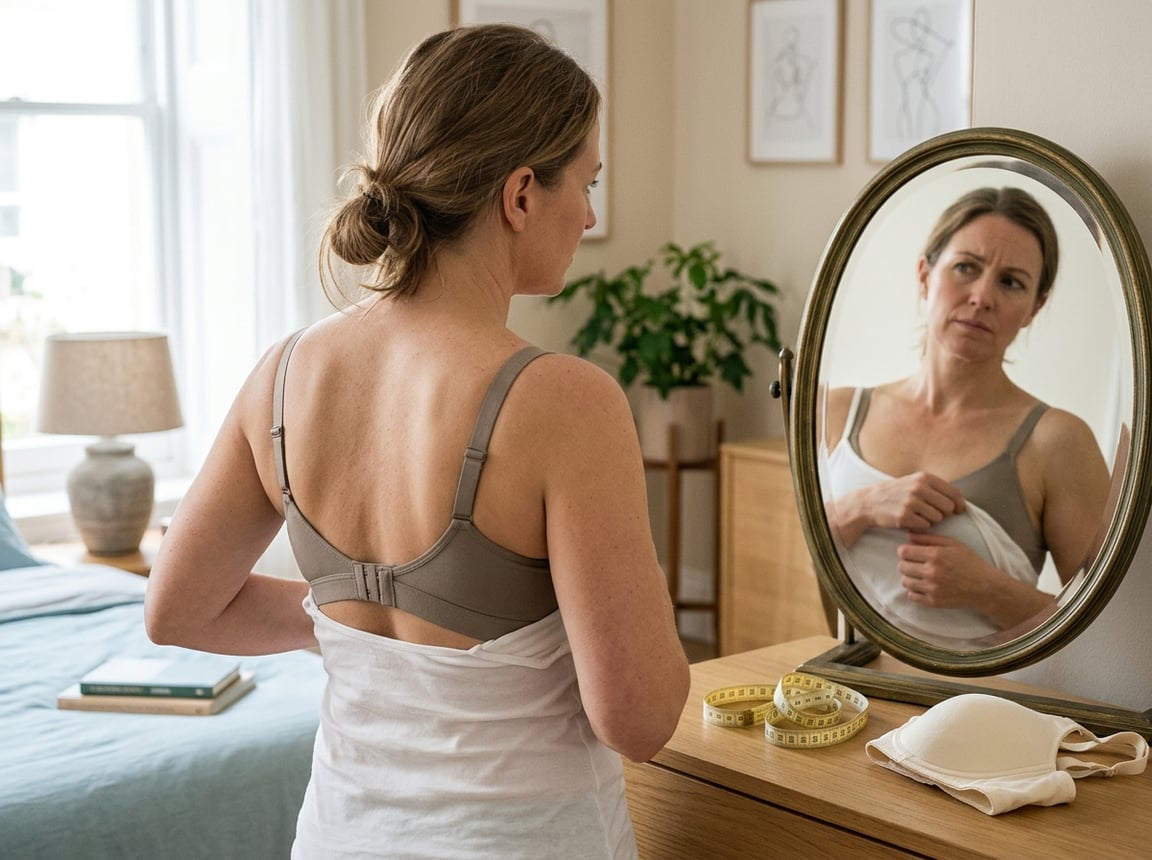
A loose or worn band cannot provide steady underband support, so your bra shifts upward as you move. Cup and wire fit also matter because cramped cups can pull the front down and push the back up. Over-tightened straps may add to this pressure instead of improving support.
Learn how to check your fit, spot movement clues, measure your size, and apply exact fixes before buying another bra. You will also see how bra style, daily wear, and fit considerations can affect long-term support.
How a Secure Bra Band Should Fit
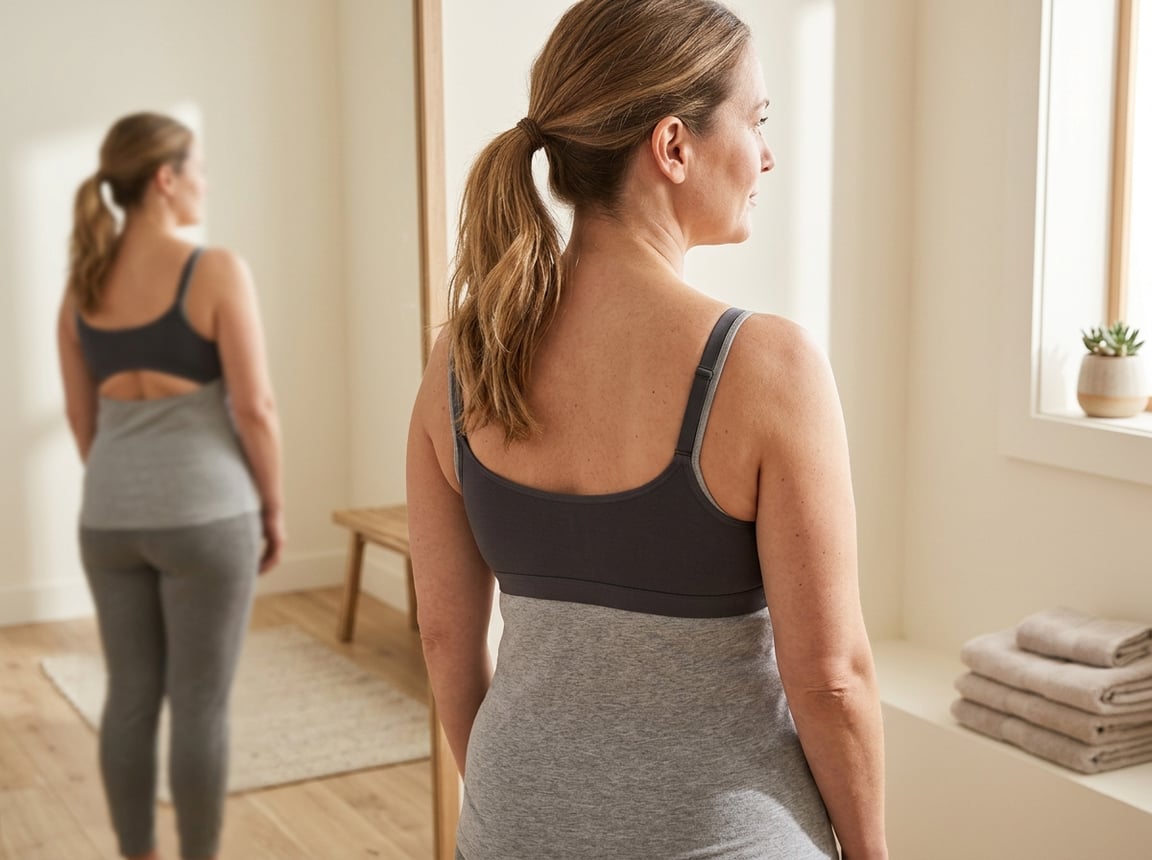
A secure band sits level around your body, feels firm without pain, and stays in place as you move. The right fit depends on the band’s tension, position, and ability to provide most of the bra’s support.
The 30-Second Fit Test
Put on your bra using the loosest hook. This gives you room to tighten the band as the elastic stretches. Check that the band feels snug around your ribs but does not pinch, restrict breathing, or leave deep marks.
Raise your arms, bend forward, and twist from side to side. The band should remain level and should not move toward your shoulder blades. If it rides up, the band may be too loose. If it stays in place but feels painfully tight, check the cup fit before changing the band size.
Slide two fingers under the band. You should be able to move them slightly without creating a large gap. Also check the cups and straps, since cups that are too small or straps that are too tight can pull the front of the bra down and affect the band’s position.
Where the Back Band Should Sit
The back band should run in a straight, horizontal line across your ribcage. It should sit at the same height as the front band, rather than rising toward your shoulder blades. A band that slopes upward usually lacks enough tension to anchor the bra.
Look at the band from the side or use a mirror. It should rest below your shoulder blades without folding, twisting, or bunching. If the center front sits correctly but the back rides up, the band size may be too large for your ribcage.
Do not tighten the straps to correct a rising band. Shortening them can pull the front upward while forcing the back lower or creating discomfort on your shoulders. Adjust the band first, then set the straps so they provide light tension without carrying the bra’s main load.
Why the Band Provides Most Support
The underband supports the bra by anchoring it against your ribcage. It carries most of the support, while the straps mainly help keep the cups positioned. When the band fits correctly, it distributes pressure around your body instead of placing the weight on your shoulders.
Start with the loosest hook on a new bra. Move to the middle or tightest hook only after the elastic loosens with wear. If you need the tightest hook from the first wear, the band may be too large or the bra may not provide enough tension.
A smaller band with a larger cup can preserve cup volume when the band feels loose. For example, moving from 36D to 34DD keeps a similar cup capacity while giving the underband a firmer anchor. Check the cup fit after any size change.
A Band Size That Is Too Large
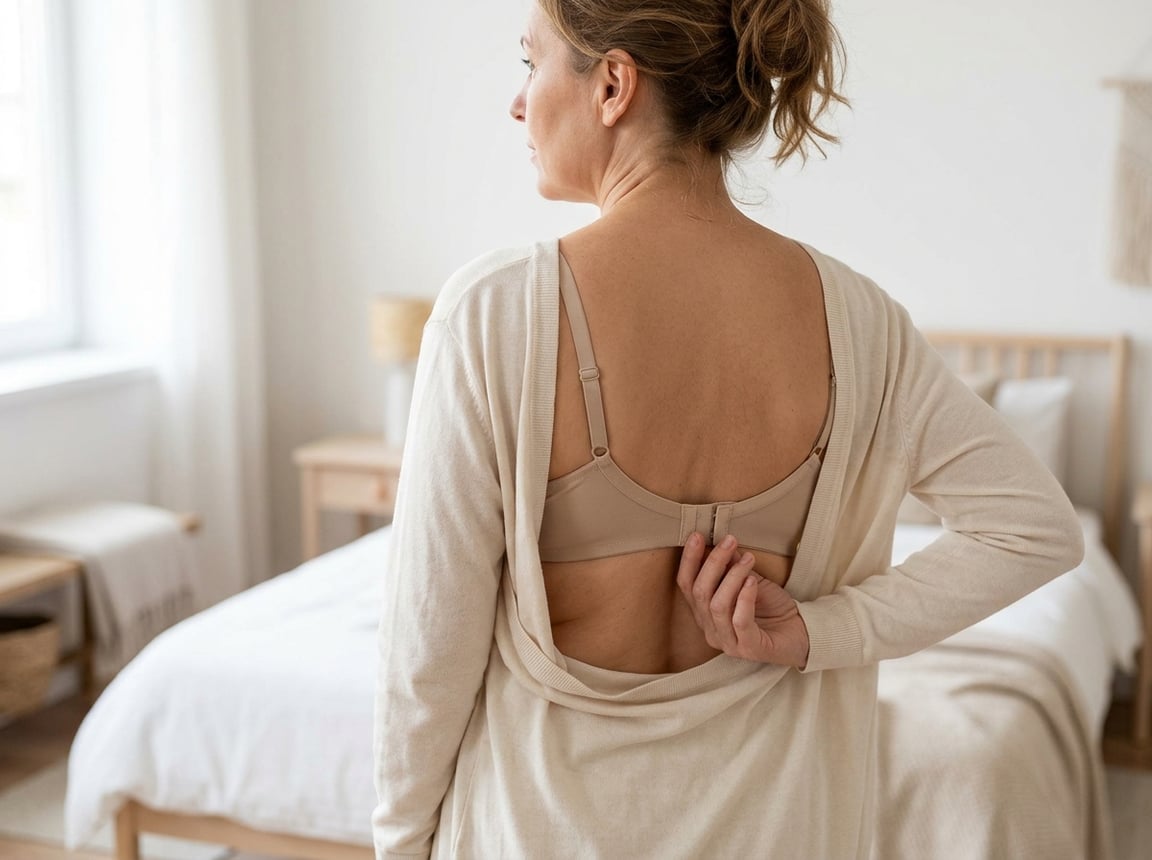
A loose band cannot stay level around your ribcage, so it shifts upward as you move. Checking the band’s position, testing a smaller size, and adjusting the cup size can help you find a secure fit.
Signs Your Band Is Too Loose
A bra band that rides up your back often means the band size is too big. When you look in a mirror, the band should sit in a mostly straight line around your body. If it forms an arch between your shoulder blades or sits higher in back than in front, it lacks enough tension.
You may also notice these signs:
- You fasten the bra on the tightest hook when it is new.
- You keep tightening the straps to gain support.
- The cups and front of the bra pull downward.
- You can pull the band several inches away from your back.
- The band moves upward during normal activity.
To check the fit, put the bra on the loosest hook and slide two fingers under the band. It should feel firm but not painful. If it feels loose or shifts when you raise your arms, the band likely needs a smaller size.
How to Choose a Smaller Band
Try a band one size smaller while keeping the same cup letter only as a starting point. For example, if you wear a 36D, test a 34D and check the cups carefully. A smaller band changes the cup’s volume, so the same letter may not provide the same fit across sizes or brands.
Fasten the new bra on its loosest hook. The band should stay level while you move, and you should still fit two fingers beneath it without discomfort. Check that the center front rests against your chest and that the cups do not spill, wrinkle, or leave gaps.
Do not fix a loose band by pulling the straps tighter. Tight straps can lift the back of the bra and place too much pressure on your shoulders. The band should provide most of the support.
When to Try a Sister Size Down
Try your sister size down when the band rides up but the cups fit well in your current bra. A sister size uses a smaller band and a larger cup letter to keep a similar cup volume. For example, move from 36D to 34DD, or from 34C to 32D.
Use this change when a smaller band with the same cup letter feels too small in the cups. Check for breast tissue spilling over the top or sides, underwire pressure, and a center panel that does not sit flat.
If the smaller band feels restrictive or the cups become loose, the style or shape may not suit you. Try your sister size instead in another brand or bra design, and judge the fit by the band, cups, and underwire together.
Cup and Wire Issues That Lift the Band

A poor cup or wire fit can push the bra away from your body and make the band climb. Check cup coverage, the gore position, and whether each wire follows your breast root without sitting on tissue.
How Cups That Are Too Small Pull the Band Up
Cups that are too small cannot contain all your breast tissue. The tissue may spill over the top or sides, while the bra shifts downward in front. The band then moves upward in back as it tries to balance the pressure.
Scoop and lift your tissue into the cups before judging the fit. If you still see spilling, try a larger cup while keeping the same band size. For example, if you wear 34C, test 34D or 34DD rather than immediately loosening the band.
A larger cup can also improve the band fit by giving your tissue enough room. Do not tighten the straps to lift the cups; overly tight straps can pull the band upward and create shoulder pressure.
Why the Gore Should Lie Flat
The gore is the fabric panel between the cups. In a properly fitting bra, it should rest flat against your breastbone without pressing painfully or floating away from your body.
A gore that does not lie flat often signals cups that are too small or too shallow. Breast tissue pushes the cups forward, which can shift the center front and encourage the band to ride up. Try a larger cup, a deeper cup shape, or both.
Check the gore after scooping your tissue into the cups. If it still floats, do not force it flat by tightening the straps. The straps cannot correct a cup-fit problem and may pull the band higher.
Checking Wire Placement
Each underwire should surround your breast without sitting on breast tissue. Its outer edge should follow the crease beneath your breast and reach far enough toward your armpit to contain side tissue.
If the wire sits on tissue, feels narrow, or presses into your breast, try a larger or wider cup. If it extends far beyond your breast and leaves empty space, the cup may be too large or too wide for your shape.
A wire that slips below the breast crease can pull the front of the bra down while the back band rises. Reposition the wire, scoop your tissue into the cup, and check the fit again. If it keeps slipping, try a different cup shape or bra style.
Strap Adjustments That Can Make the Problem Worse
Tightening the straps may lift the cups briefly, but it cannot correct a loose or poorly fitted band. The band should provide most of the support, while the straps should help keep the cups in position without pulling the back upward.
Recognizing Over-Tightened Straps
Your straps may be too tight if they leave deep marks, cause shoulder or neck pain, or pull the band toward your shoulders. You may also notice that the cups shift, the underwire moves, or the back band sits higher than the front.
Loosen both straps by about 1–2 centimeters, then check the fit while standing naturally. The straps should rest securely without digging into your skin. If the cups sag after you loosen them, the problem may involve the band or cup size rather than strap length.
Tight straps can make a loose band ride up because they pull the back of the bra upward. They can also place too much weight on your shoulders instead of letting the band support your breasts.
Balancing Strap Tension With Band Support
Start with the band. It should sit level around your ribcage, feel firm without restricting your breathing, and allow you to slide about two fingers underneath. If it rides up even when the straps remain loose, try a smaller band size with a larger cup size to keep similar cup volume.
After adjusting the band, shorten each strap only enough to stop slipping. Set both straps to a similar length, then make small changes if your shoulders differ in height. Your straps should guide the cups, not lift your breasts by themselves.
Check the fit on the loosest hook when the bra is new. If the band still rises, the elastic may be worn, or the bra style may lack enough support for your shape.
Movement Clues That Reveal a Poor Fit
A band that shifts during normal movements often lacks the right tension or support. Watch what happens when you lift your arms, bend, reach, and walk, then use a short fit test to identify the likely problem.
What It Means When the Band Rises With Your Arms
If your bra rides up when you raise your arms, the band may be too loose. A properly fitted band should stay level around your torso instead of moving toward your shoulder blades. This issue can also occur when the elastic has stretched from regular wear or washing.
Cup fit can affect band movement, too. Cups that are too small may push breast tissue out and place extra strain on the band. Cups that are too large may fail to support your breasts, allowing the bra to shift as you move.
Check the back band in a mirror. If it sits higher than the front, looseness is likely. Try a smaller band with a larger cup to keep a similar cup volume. For example, if you wear a 36C, try a 34D. Fasten a new bra on the loosest hook so you can tighten it as the elastic wears.
Testing Fit During Everyday Movement
Run the 30-second fit test while wearing the bra under a normal shirt:
- Raise both arms above your head.
- Bend forward and return to standing.
- Reach across your body on both sides.
- Walk or gently swing your arms for several seconds.
The band should remain level and close to your ribcage. The cups should keep your breast tissue contained, while the straps should stay in place without carrying most of the weight.
If the band rises during any step, check the band size first. If the cups spill, gape, or shift, reassess the cup size before changing the band. A worn, twisted, or stretched band can also fail this test even when the original size was correct.
Exact Fixes for a Riding-Up Band
A secure band should sit level around your ribcage and stay in place when you move. Use the loosest hook for a new bra, consider an extender only for temporary comfort, and replace bras with stretched or damaged elastic.
Refitting on the Correct Hook
Fasten a new bra on the loosest hook. This gives you room to tighten the band as the elastic naturally relaxes with wear. The band should feel firm but comfortable, with enough space to slide two fingers underneath it.
If the band rides up, move to a tighter hook and check the fit again. A correct band stays level across your back instead of rising between your shoulder blades. Do not rely on tighter shoulder straps to hold it down; this can pull the band upward and place too much pressure on your shoulders.
If the bra still rides up on the tightest hook, the band is likely too large or the elastic has weakened. Try a smaller band with a larger cup size to keep a similar cup volume. For example, if 36C rides up, you could test 34D.
Using a Bra Extender Temporarily
A bra extender can help when a new band feels too tight but the cups fit correctly. Attach it to the existing hooks to add a small amount of length while the band breaks in. Choose an extender with the same hook spacing and number of rows as your bra.
An extender is not a fix for a loose band. Adding length can make riding up worse if the band already lacks tension. Use it only when the band feels uncomfortably tight, leaves deep marks, or prevents you from fastening the bra comfortably.
Check the fit after adding the extender. The band should remain level, and the cups should stay flush against your breasts without gaps or spilling. Remove the extender once the band feels comfortable without it.
Replacing a Worn Bra
Replace a bra when its elastic no longer recovers after washing or when the band rides up even on the tightest hook. Other signs include a wavy band, loose fabric, stretched straps, a damaged clasp, or fabric that feels thin and slack.
Wash bras according to the care label, preferably by hand or in a lingerie bag. Avoid high heat, which can weaken elastic. If the bra has stretched from regular use, washing will not restore its original support.
When buying a replacement, check that the band sits level on the loosest hook and stays there as you raise your arms and bend forward. Make sure the cups fully contain your breasts before judging the band. A well-fitting cup helps the band stay anchored around your ribcage.
Measure Your Size Before Buying Another Bra
A level band usually starts with accurate measurements, while cup shape and brand differences affect the final fit. Measuring at home can help you prevent fit issues before they start, but you should still check how each bra fits on your body.
How to Measure Your Band and Cup at Home
Wear a thin, unpadded bra or measure without a bra. Keep the tape measure level around your ribcage, directly under your breasts. It should feel snug but not tight enough to press into your skin. Record the measurement in inches.
Next, measure the fullest part of your bust. Keep the tape straight across your back without pulling it tight. Subtract your band measurement from your bust measurement. The difference helps estimate your cup size, but sizing charts vary by brand.
| Check | What to look for |
|---|---|
| Band | Snug, level, and secure on the loosest hook |
| Cups | No spilling, wrinkling, or empty space |
| Straps | Adjusted lightly, not carrying the main support |
| Center section | Lies flat when the bra style allows it |
Try the bra on before removing tags. Raise your arms, bend, and move around. If the back band rises, test a smaller band or a different cup size.
Avoiding Common Sizing Assumptions
Do not assume your bra size stays the same over time. Weight changes, pregnancy, aging, exercise, and changes in breast shape can affect your measurements. Many people wear a size that does not fit well because they rely on an old label or choose the same size in every brand.
A tighter band does not automatically provide better support. If it digs into your ribs, causes pain, or leaves deep marks, try a larger band with a smaller cup letter to keep a similar cup volume. If it rides up, feels loose, or shifts when you lift your arms, try a smaller band and adjust the cup as needed.
Do not tighten the straps to fix a loose band. The band should provide most of the support, while the straps should hold the cups in place without pressing into your shoulders.
Fit Considerations for Pakistani Women
Your bra should sit level across your back, stay secure during movement, and support your breasts without pain. Local weather, clothing styles, body shape, and limited size availability can affect comfort, so check fit instead of relying only on your usual size.
The Most Frequently Reported Bra Fit Problems
Pakistani women commonly report back bands that ride up, straps that slip, tight bands, cup gaps, breast spillage, underwires that dig in, side bulges, straps that cause shoulder pain, rolling bands, and fabric irritation. A band that rises usually feels loose around your ribcage. Try one band size smaller with one cup size larger to keep a similar cup volume.
If the band feels painfully tight, leaves deep marks, or makes breathing uncomfortable, try a larger band. Spillage at the top or sides often means the cup is too small, while wrinkles or empty space can mean the cup is too large or the style does not suit your shape.
Finding Styles That Work for Your Shape
Measure your ribcage and bust while wearing a lightly lined bra, then compare the results with each brand’s size chart. Since sizing varies, test the bra on the loosest hook. The band should remain level and allow about two fingers underneath without shifting.
Choose full-cup styles for more coverage and fewer spills, especially under loose or modest clothing. Balconette bras can work well for fuller lower breasts, while plunge styles may suit close-set breasts. For softer tissue or wider-set breasts, cups with side support can improve stability.
Look for breathable cotton or moisture-wicking fabrics in hot weather. Wider straps, firm side panels, and smooth seams can reduce shoulder pressure, chafing, and visible lines under shalwar kameez or fitted tops. Replace a bra when its elastic stretches, the band no longer stays level, or you need the tightest hook for support.
Keep Future Bras Supportive for Longer
Choose bras with enough room to adjust as the elastic stretches. Wash and store them carefully to protect the band, straps, and cups from early wear.
Buying New Bras on the Loosest Hook
Try a new bra on the loosest hook. The band should sit level around your body and feel firm without digging into your skin. This setting gives you room to tighten the bra as the elastic loses strength over time.
If the bra only fits on the tightest hook when new, the band may become too tight after washing or small body changes. If it rides up even on the loosest hook, try a smaller band with a larger cup, such as moving from 36C to 34D. Check that the cups contain your breast tissue and that the center panel rests against your chest.
Before buying, raise your arms, bend forward, and move your shoulders. The band should stay in place without rolling, flipping, or shifting. These checks can prevent fit issues before they start.
Caring for Elastic and Rotating Bras
Wash bras by hand or in a mesh bag on a gentle cycle. Use cool water and mild detergent, then reshape the cups and lay the bra flat to dry. Heat from a dryer can weaken elastic, so avoid tumble-drying bras.
Rotate between at least two or three bras instead of wearing the same one every day. This gives the stretched elastic time to recover. Avoid twisting the band, pulling hard on the straps, or folding molded cups.
Signs the elastic has given out include a band that rides up on every hook, loses its firmness, or rolls and bunches during normal movement. When tightening the hooks no longer keeps the band level, replace the bra rather than relying on tighter straps.
Frequently Asked Questions
A riding band usually points to a loose or worn band, but cup fit, strap tension, and bra design can also cause movement. Check where the bra shifts and how it fits around your ribcage before changing sizes.
Why does my bra band ride up in the back?
The band is usually too loose for your ribcage. A loose band cannot stay level, so the weight at the front pulls it upward in back.
Try a smaller band size with a larger cup size to keep a similar cup volume. For example, if you wear 36C, try 34D. Fasten the bra on the loosest hook and make sure the band sits straight across your back.
What does it mean if I have to keep pulling my bra down?
Frequent pulling usually means the bra does not anchor securely. The band may be too loose, the cups may be too small, or the straps may be too tight.
Check for breast tissue spilling over the cup edges. If you see spilling, try a larger cup size. If the cups fit but the band moves, try a smaller band size.
Is a bra band that rides up too big or too small?
A band that rides up in back is usually too big. A band that feels painfully tight, leaves deep marks, or causes restricted breathing may be too small.
Test the band without the cups by wearing the bra backward, with the cups facing your back. It should feel firm and stay level without digging sharply into your skin.
How can I stop my bra from riding up in the front?
Check whether the cups fully contain your breasts and whether the band sits firmly under your bust. A cup that is too small can push the bra downward, while a loose band can shift upward or downward.
Loosen straps that dig into your shoulders, then adjust them so they lift the cups without pulling the band. If the bra still moves, try a smaller band size or a different style with a firmer underband.
Why does my bra ride up when I lift my arms?
Your band may be too loose, or the bra may not match your breast shape. Raising your arms can pull a poorly fitted bra upward, especially when the band lacks firm support.
Put your arms up and check whether the band stays level. If it moves, try a smaller band size. If the cups shift or expose breast tissue, try a different cup size or shape.
Why does my bra band roll up at the sides?
Rolling can happen when the band is too loose, too narrow, or made from worn elastic. It can also occur when the band sits on soft tissue and lacks enough width to stay flat.
Try a bra with a wider, firmer band and check that it sits evenly around your ribcage. Replace the bra if the elastic has stretched out or no longer returns to its original shape.
Stop the Ride-Up for Good
A bra band riding up is almost always a support problem, not a quirk of your body. The band does the bulk of the work in any bra, so when it's too loose, too stretched, or being dragged upward by cups that are too small, it climbs your back and the straps start carrying weight they were never designed to hold. That's where the shoulder digging, gaping cups and mid-day readjusting come from - one root cause, several visible symptoms.
The fix order is simple: tighten to a firmer hook first, then check your cup size, then check the age of the elastic. If a bra only sits correctly on the tightest hook, it's near the end of its life. Work through the 30-second fit test to confirm where the problem sits, then try your sister size instead if the band is the culprit. If you're going the other direction and the band is too tight, a bra extender is a quick temporary fix.